

Verify Search Console Ownership with Vercel DNS

What you’ll learn
- How to distinguish a domain registrar from the service currently managing DNS
- How to identify the authoritative nameservers with
digor a web-based lookup tool - How to add a Search Console TXT record in Vercel and check it in public DNS
- What to do when other TXT records already exist
- How to complete the work without exposing the verification value in an article or shared log
Why Search Console Verification Failed After I Added the TXT Record
Search Console ownership verification can fail even when the TXT value is correct. If the record is added somewhere other than the service currently managing DNS, it never appears in public DNS. The company that sold the domain and the service answering DNS queries are not always the same.
When configuring ailearnplay.com and ailearnplay.online, both registered through a Japanese registrar, I first added TXT records at the registrar. Their nameservers had already been switched to Vercel, so those records never appeared in public DNS responses.
After I added the same verification records in Vercel, Search Console verified both domains. The experience showed me that the first check should be where the record belongs, not only whether its value is correct.
This article focuses on domains bought from an external registrar whose DNS has been delegated to Vercel. It covers identifying the authoritative nameservers, adding the TXT record in Vercel DNS, checking the public response, and retrying verification in Search Console.
By the end of the article, you will be able to decide where the TXT record belongs and diagnose why ownership verification is not completing. Domain transfers and moving the website itself to Vercel are outside the scope.
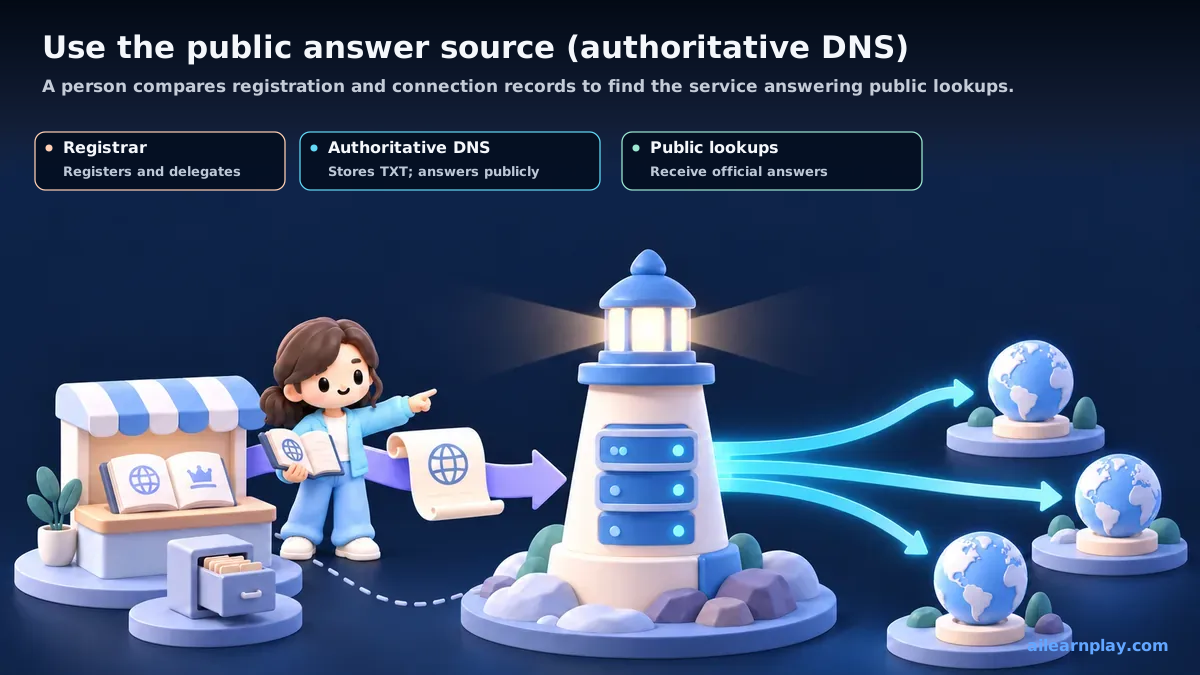
Registrars and Authoritative Nameservers Have Different Roles
A domain registrar handles registration and renewal. Authoritative nameservers are the servers that return official answers about the domain’s website destination and TXT records. Vercel similarly describes nameservers as the servers that hold and manage DNS records.[2]
Even if you bought a domain from another registrar, Vercel manages its DNS records when you have delegated the domain to these nameservers:[2]
ns1.vercel-dns.com
ns2.vercel-dns.com
In that configuration, adding a TXT record to the registrar’s separate DNS editor does not change the information returned on the internet. The registrar’s nameserver settings and registration records still matter. The ineffective part is a record added in a control panel that is no longer the active DNS manager.
Your first check should therefore be the current authoritative nameservers, not the web host or the company that sold the domain. The answer determines which control panel should receive the TXT record.
Get the Domain Property and TXT Value from Search Console
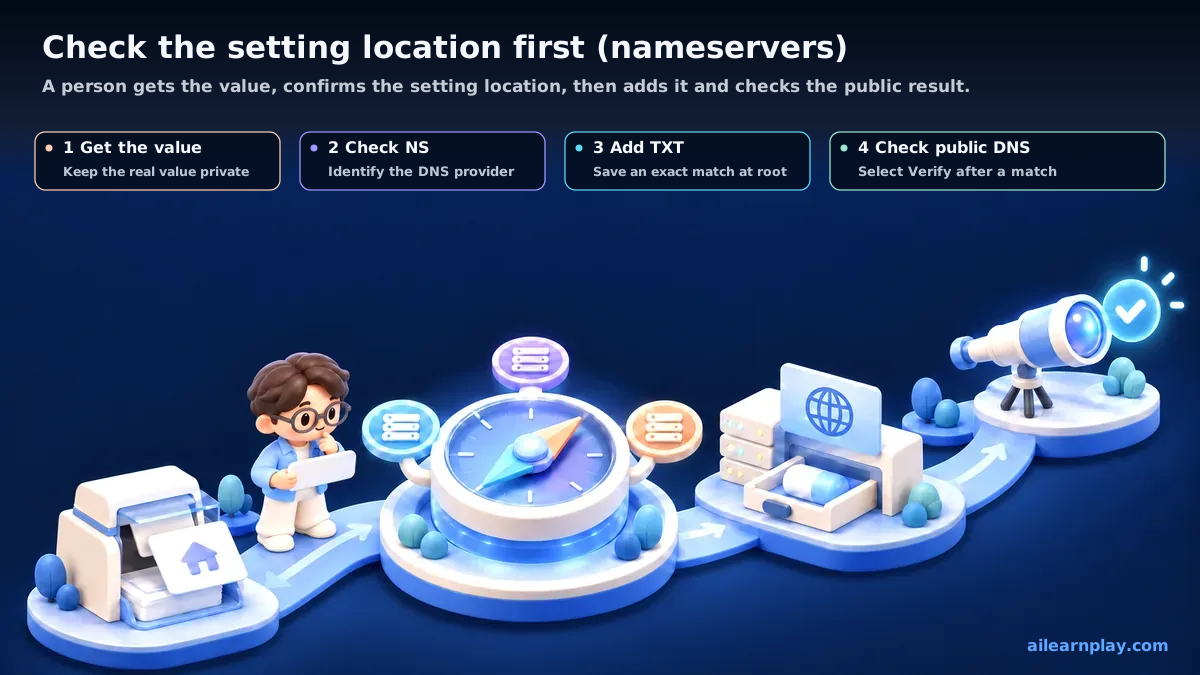
To cover the entire domain, open Google Search Console, add a property, and select “Domain.” Enter a domain such as example.com without https:// or a path.[1]
Search Console displays a TXT value in this format. The value below is an invalid example for documentation; use the exact value issued in your own Search Console session.
google-site-verification=REDACTEDGoogle issues this as a unique verification record and checks for an exact match.[3] The TXT value is intentionally published in DNS and can be looked up by anyone. It is not an API secret that grants general access to a service. To avoid mistakes or reuse, enter the real value directly in the DNS control panel and do not make unnecessary copies in a public article, screen share, issue, or chat.
Check the Authoritative Nameservers Before Editing DNS
If you have a terminal, use the DNS lookup command dig to inspect the NS records (the entries that name the servers giving official answers). Replace the example with your own domain.
dig NS example.com +shortIf the result contains Vercel’s two nameservers, add the TXT record in Vercel. If it returns Cloudflare or another provider, use that provider’s DNS controls. Use the registrar’s DNS record editor only when the result points to the registrar’s nameservers.
If dig is unavailable, Google recommends DNS lookup tools such as Google Admin Toolbox.[3] You can also use DNS over HTTPS, which sends a DNS lookup as a web request, and receive the NS result as JSON text:[6]
curl --silent \
  --header "accept: application/dns-json" \
  "https://cloudflare-dns.com/dns-query?name=example.com&type=NS"
You do not need to query TXT records at this stage. The NS result alone identifies the provider, reducing the chance that a verification value ends up in terminal output or a shared log.
Add a TXT Record at the Domain Root in Vercel
The root domain means the domain itself, such as example.com, without a prefix such as www. For a domain using Vercel nameservers, open “Domains” in the team dashboard, select the domain, and open “Advanced Settings.” If the DNS record form is not active, select “Enable Vercel DNS.”[4]
A project’s “Settings → Domains” page assigns a domain to a project; it is not the same as the team’s domain-level DNS controls.
Add a record with the following values:
| Field | Value | Check |
|---|---|---|
| Type | TXT | Do not select any type other than TXT |
| Name | Blank or @ for the domain root | Use the root notation accepted by the current Vercel form |
| Value | The exact string issued by Search Console | Do not add quotation marks or surrounding spaces |
| TTL | Default | The time DNS answers stay cached. Vercel’s default is 60 seconds; leave it unchanged unless you have a reason[4] |
After saving, confirm that the record appears in the list. Vercel also provides vercel dns add, but entering the value through a CLI (a text-based command interface) can leave it in shell history or CI (an automated service that runs checks when changes are made) logs. For a one-time ownership setup, I prefer the dashboard because it avoids unnecessary copies of the value.
Check Public DNS Before Returning to Search Console
Saving a record in Vercel does not guarantee that Search Console can see it immediately. First, check from your own terminal:
dig TXT example.com +shortPublic DNS is serving the record when the output contains an exact match for the value issued by Search Console. The output can also contain other ownership-verification values, SPF policies, and unrelated TXT records. Check the match locally rather than pasting the entire response into an issue or chat.
Once the value matches, return to Search Console and select “Verify.” Google says that manually added DNS records can take two or three days to become visible, while Vercel’s CLI documentation asks users to allow up to 24 hours for a new record to propagate.[3][5] My two domains verified within minutes, but an immediate failure is not enough to show that the configuration is wrong.
Keep the TXT record after verification succeeds. Search Console periodically checks that a verification value remains present, and Google explicitly advises leaving the DNS record in place to retain verification.[3]
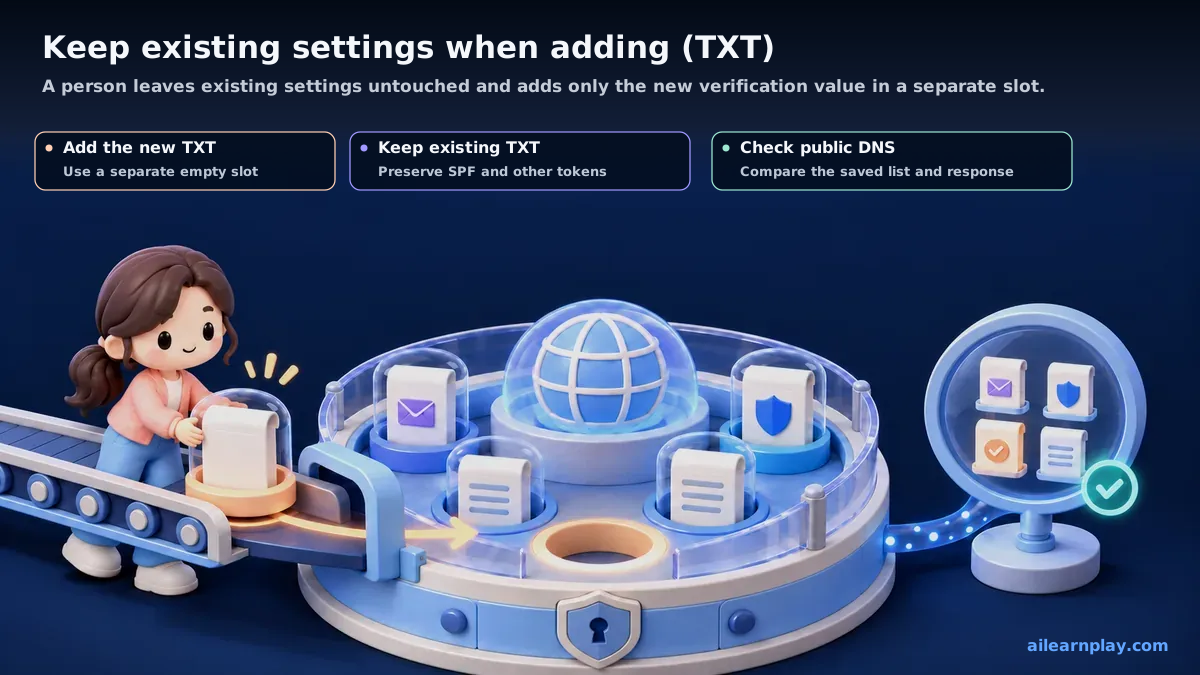
Add a New TXT Record Without Replacing Existing Values
The domain root may already have TXT records for Google Workspace, SPF (a rule that identifies valid email senders), or another verified Search Console owner. Google allows multiple people to verify the same property and warns against overwriting another owner’s verification value.[3]
Leave existing TXT records unchanged and add the Search Console value as a new entry. In particular, never replace a mail policy beginning with v=spf1 with a Search Console verification value.
In the basic DNS editor provided by the registrar I used, adding what appeared to be another record with the same name and type replaced the existing value in the list. This was an observed behavior in that interface, not a rule that applies to every registrar. Always inspect both the saved record list and the public DNS response at the provider that is actually authoritative.
Summary: Check the Provider, Value, and Published Record in That Order
When Search Console reports that it cannot find the verification value in the domain’s TXT records, work through this checklist before repeatedly saving the same value:
- I selected a Domain property in Search Console and confirmed the domain name
- I have not exposed the real TXT value in an article, issue, chat, or screen share
- I checked the current authoritative nameservers with
dig NS example.com +shortor another DNS lookup tool - I added the TXT record at the DNS provider named by those authoritative nameservers
- For the domain root, I used the blank or
@notation accepted by that provider - I did not delete, edit, or overwrite an existing TXT record
- I checked for an exact match locally without sharing the complete TXT response
- If the value did not match, I rechecked the provider, domain, Name, and Value before waiting for propagation
- I left the verification TXT record in place after Search Console succeeded
The first action is to check the authoritative nameservers with dig NS or a DNS lookup tool. Edit DNS in Vercel only when Vercel’s nameservers are returned; otherwise use the provider named by the result. Vercel can host the site while another service manages its DNS; in that setup, do not add the TXT record in Vercel. The NS records still identify where the TXT record belongs.
References
- Google Search Console Help, Add a website or platform property to Search Console
- Vercel Docs, Working with nameservers, July 15, 2026
- Google Search Console Help, Verify your site ownership
- Vercel Knowledge Base, How can I manage my Vercel DNS records?, July 27, 2026
- Vercel Docs, vercel dns, August 21, 2026
- Cloudflare Docs, Using JSON, May 5, 2026
For the latest releases and updates, check the official website and official documentation.